Your DIY Guide to Resealing Concrete Driveway
Extreme weather wrecks havoc on concrete driveways, leaving them with significant cracks and potholes. Sun rays can also cause coloured concrete driveways to fade, leading to deterioration. You can fix these on your own with a bit of driveway sealing.
Knowing about resealing a driveway can seriously pump up your home’s curb appeal. And applying a new asphalt layer will keep your driveway’s existing surface in a like-new condition for several years.
Now, without further ado, let’s look at this cost-effective solution to resealing your concrete driveway!
Tools You Will Need For This Project

To seal a driveway, there are several basic and traditional tools are required. These include:
- Leaf blower
- Weed-whacker
- Power washer
- Painter’s tape
- A pair of old shoes
- Long-handle squeegee
- Soft-bristle, long-handle brush
- Wet asphalt
- Asphalt crack filler
You’ll also need appropriate clothing and safety gear to protect you from dirt, dust, paint or being in contact with harmful chemicals during the process.
How Do You Reseal a Concrete Driveway?
Before you get on with your project, check the weather forecast to ensure that the temperature is at an optimum level, above 15 degrees Celcius with no rain for a week. Driveway sealing takes almost a week to cure up, and the slightest rain means you need to start again.
Step 1: Cleaning Up The Grass or Weeds

Concrete driveways are more liable to develop cracks due to extreme weather conditions and other factors. These cracks have a rich supply of nutrients and soil as water soaks inside the gap, creating a perfect breeding ground for grasses and weeds. And if you apply a new seal to your driveway with these grasses underneath, it will break out, throwing all your money and efforts in vain.
This is the first step in the process, and you must execute it carefully. Use a weed whacker to remove any grass surrounding your driveway border and cracks.
Step 2: Clear The Debris And Remove Any Oil Stains

Make sure you remove any loose grass, dirt, or debris from the surface of your driveway using a leaf blower.
You can use a powdered spill absorber to absorb most of the stains if grease or oil stain is present on the concrete surface. You can spray a degreaser on harsh stains and let them soak for a few minutes, then scrub them gently with a brush.
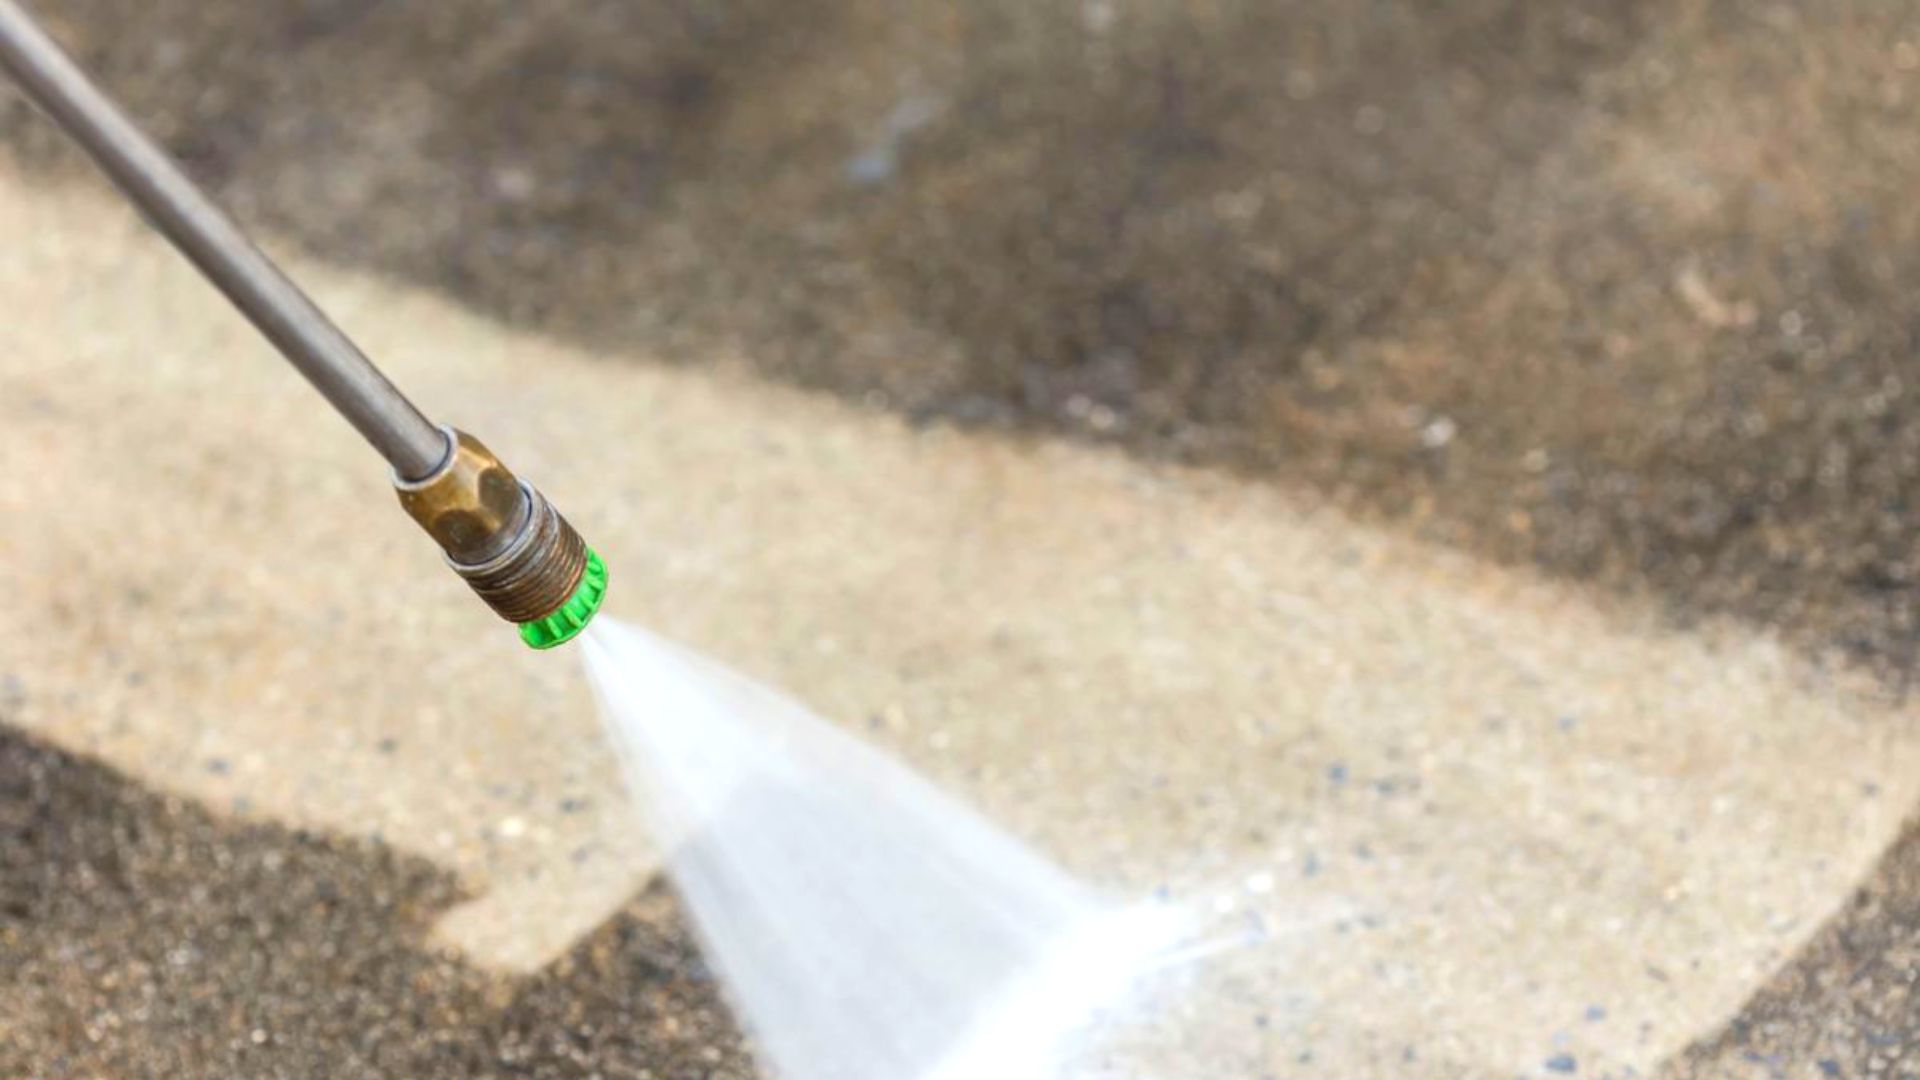
Step 3: Power-wash
Select an appropriate power washer nozzle or a spray tip, depending on the depth of the stain. Use a back-and-forth motion to power-wash the entire driveway surface. This is an important step, as sealants won’t work if your driveway has the presence of dirt or a layer of moisture. It’s also best to leave the driveway to dry for at least 48 hours.
Pressure clean the entire surface twice or three times if dirt or debris remains.
Step 4: Seal Potholes or Cracks
Once your driveway is thoroughly cleaned and dried, it’s time to seal those potholes and cracks. Use a crack filler to fill these appropriately.
Next, apply the sealer on the driveway. You can do this in two ways:
1. Using A Concrete Sealer
Add the concrete sealer to the sprayer’s tank (please use a new sealer, NOT a tank used to spray pesticides), and carefully sprinkle the entire thing over the concrete surface with overlapping strokes. Ensure that to get a sealer that’s compatible with a decorative surface.
Use a paintbrush and roller to spread the sealer evenly on the driveway. Roll the brush over to push it forward if there’s any ripping build-up.
Apply another coat. Depending on the coverage, make sure to go through the manufacturer’s instructions thoroughly. You might need to apply the second coat from a different angle. Keep it cured for a few days to obtain the best results.
2. Using Asphalt
Using asphalt, create a borderline around your driveway and then fill the rest of the driveway with a uniform asphalt layer. Asphalt dries faster than concrete sealer, so keep at least 2 gallons of the sealant handy to continue the application process.
Use the squeegee in a to-and-fro motion to apply the asphalt uniformly to the sealant. Ensure that your driveway’s asphalt is evenly coated and that any visible cracks have been filled several times.
Step 5: Create An Asphalt Borderline
Once the asphalt layers are applied uniformly, and you’ve reached the end of the driveway, use the bristle brush again to create another borderline where your driveway separates from the sidewalk.
Make sure to apply the same technique to create a uniform asphalt layer so it doesn’t get spilled onto the sidewalks. After completing the application, please leave it to cure for a few days and refrain from walking or driving on it.
It is also recommended that a barrier be added around the area to protect it from damage.
Maintaining The Sealer
Once your concrete driveway is sealed, it’s crucial to maintain it regularly to help the sealer do its job. Cleaning it simply with soap and water is essential for the first few months. And if you think that the sealer is thinning, it would be good to reapply it lightly to the sealed concrete driveway for maintenance.
Please don’t use a narrow tip power washer on a newly sealed concrete driveway, as it might produce cracks. And if you’re not confident doing it on your own, it’s advisable to call for professional help with many years of concrete sealing experience. They might charge hundreds of dollars, but it’s worth it.
At Top Coat Concrete, our combined experience allows us to provide high-quality and premium services to any driveway and concrete surfaces for all our clients across Sydney. Please don’t hesitate to contact us for more information, questions, assistance, or a free quote.
Newsletter
Sign up to our flooring, epoxy and concrete blog newsletter and get all the latest news, tips and tricks from the industries best in Sydney.
Related Articles

Concrete Driveway: Should You Have It Repaired or Replaced?
Confused if you’re going to repair or replace your driveway? Check out this guide and learn the best way to address your driveway problems.

How To: Resurface A Concrete Driveway
Confused about how to resurface your driveway using concrete? Follow our guide as we give industry tips and knowledge for resurfacing your driveway DIY style.

Epoxy Your Concrete Driveway? Know Its Pros and Cons
Do you want to know what works best for your concrete driveway? We think it’s epoxy, and in this informational article, we’ll tell you why.