How To: Resurface A Concrete Driveway
Concrete is an excellent material for resurfacing a driveway because of its durability.
Even after exposure to weather conditions and foot traffic, a concrete driveway can last several years. However, visible signs of deterioration may appear on the surface with time, indicating that you need to repair the driveway.
For restoring the appearance and durability of a driveway, there are generally two ways that can be employed. The first is to remove the existing driveway and install a new one from scratch, involving a considerable investment of time, effort, and money.
On the other hand, the second method comprises renewing the existing installation using concrete, providing excellent results at a fraction of the cost of a new installation. This is the method we’ll discuss in this guide today, so read on to learn how to resurface your concrete driveway quickly.
Resurfacing A Concrete Driveway
You will need a few things to resurface your driveway before starting.

Materials And Tools Required
1. Resurfacing Concrete
One of the project’s main components will be the resurfacing of concrete, which will be a required part of the project.
2. Pressure Washer
Taking advantage of a pressure washer is required to clean the existing driveway before you can begin the resurfacing process. If you do not have a pressure washer, you can easily rent one from your local home centre.
3. Electric Drill
It would be best if you used an electric drill fitted with a paddle mixer to mix the resurfaced surface.
4. Measuring Pail
To accurately measure the amount of resurfacer and water required for the mixing process, you will need a measuring pail.
5. Chisel
As a result of flaking concrete being on your driveway, you will need to use a chisel to remove it.
6. Wire Brush
It is necessary to use a wire brush during the cleaning process of the driveway and the chisel to remove small flakes and pieces of it.
7. ¼-inch Weatherstripping
For the expansion joints to remain open, you will need to put weatherstripping in them before you apply the resurfacer so that it doesn’t fill them with dust.
8. Safety Glasses
Use protective gear, such as safety glasses, while resurfacing the driveway to prevent debris from entering your eye.
9. Long-Handled Squeegee
A long-handled squeegee will make applying the resurfacer to the driveway easy.
10. Five-Gallon Bucket
You will require a five-gallon bucket to mix the resurfacer and water to prepare it for application.
11. Hose
The hose will come in handy for cleaning and cooling the driveway. Depending on the weather, you can use it to mist the newly renovated surface once everything’s done.
12. Hammer
Sometimes, you may need a hammer to remove broken pieces from the concrete driveway.
13. Finishing Broom
Using a concrete broom is one of the best methods you can use if you want to give your driveway a non-slip finish.
14. Gloves
Another vital piece of safety equipment that will keep your hands protected while using the resurfacer is gloves.
The Steps Involved
Now, let’s look at the steps involved in the process.

1. Cleaning The Patch And Driveway
The first step in the resurfacing process is to clean the driveway’s surface, ensuring that the new layer can stick to it easily. Use a pressure washer with 3,500PSI to remove substances, such as flaking concrete, oil, and dirt from the surface.
After cleaning the surface, look for spalled areas or large cracks, as they will need to be repaired using a patching compound. Once the cracks are repaired, wash the entire surface of the driveway thoroughly using a hose and remove the standing water with a broom.
As a result, the concrete resurfacer will remain mixed while less water is drawn out of the surface, lowering the temperature.
Before proceeding to the next step, you must consider whether the weather suits the resurfacing process. The temperature must be over 10 degrees Celsius for at least 8 hours and over zero for at least one day for the resurfacer to cure properly.
2. Mixing The Concrete Resurfacer
The next step involves mixing the concrete resurfacer properly before it can be applied to the surface, but hand-mixing will not be suitable as it tends to leave behind lumps. One of the effective ways to do this is by using a power drill with a paddle attachment while making sure to have someone assist you.
Once the five-gallon bucket is filled with water, you should ask your helper to pour the concrete into the bucket while the paddle is being operated. At this point, you can proceed with the rest of the process.
Mix for a minimum of five minutes and stop when the mixture acquires a thick consistency without lumps. If the mixture becomes too thin, add more resurfacer or water if it becomes too thick.
Remember that you should not fill the expansion joints with the resurfacer, so get them filled with weatherstripping while you prepare the mixture.
3. Spreading The Resurfacer Over The Smaller Areas Of The Driveway
The resurfacer will remain usable for about half an hour in temperatures as high as 22 degrees Celsius, but it can harden quickly at higher temperatures. To prevent that from happening, use cold water for mixing and keep the bag away from sunlight, which will help you work for longer.
Additionally, it is a good idea to divide the total area into smaller parts if the driveway is extensive, with each section having an area of 13.37 square metres.
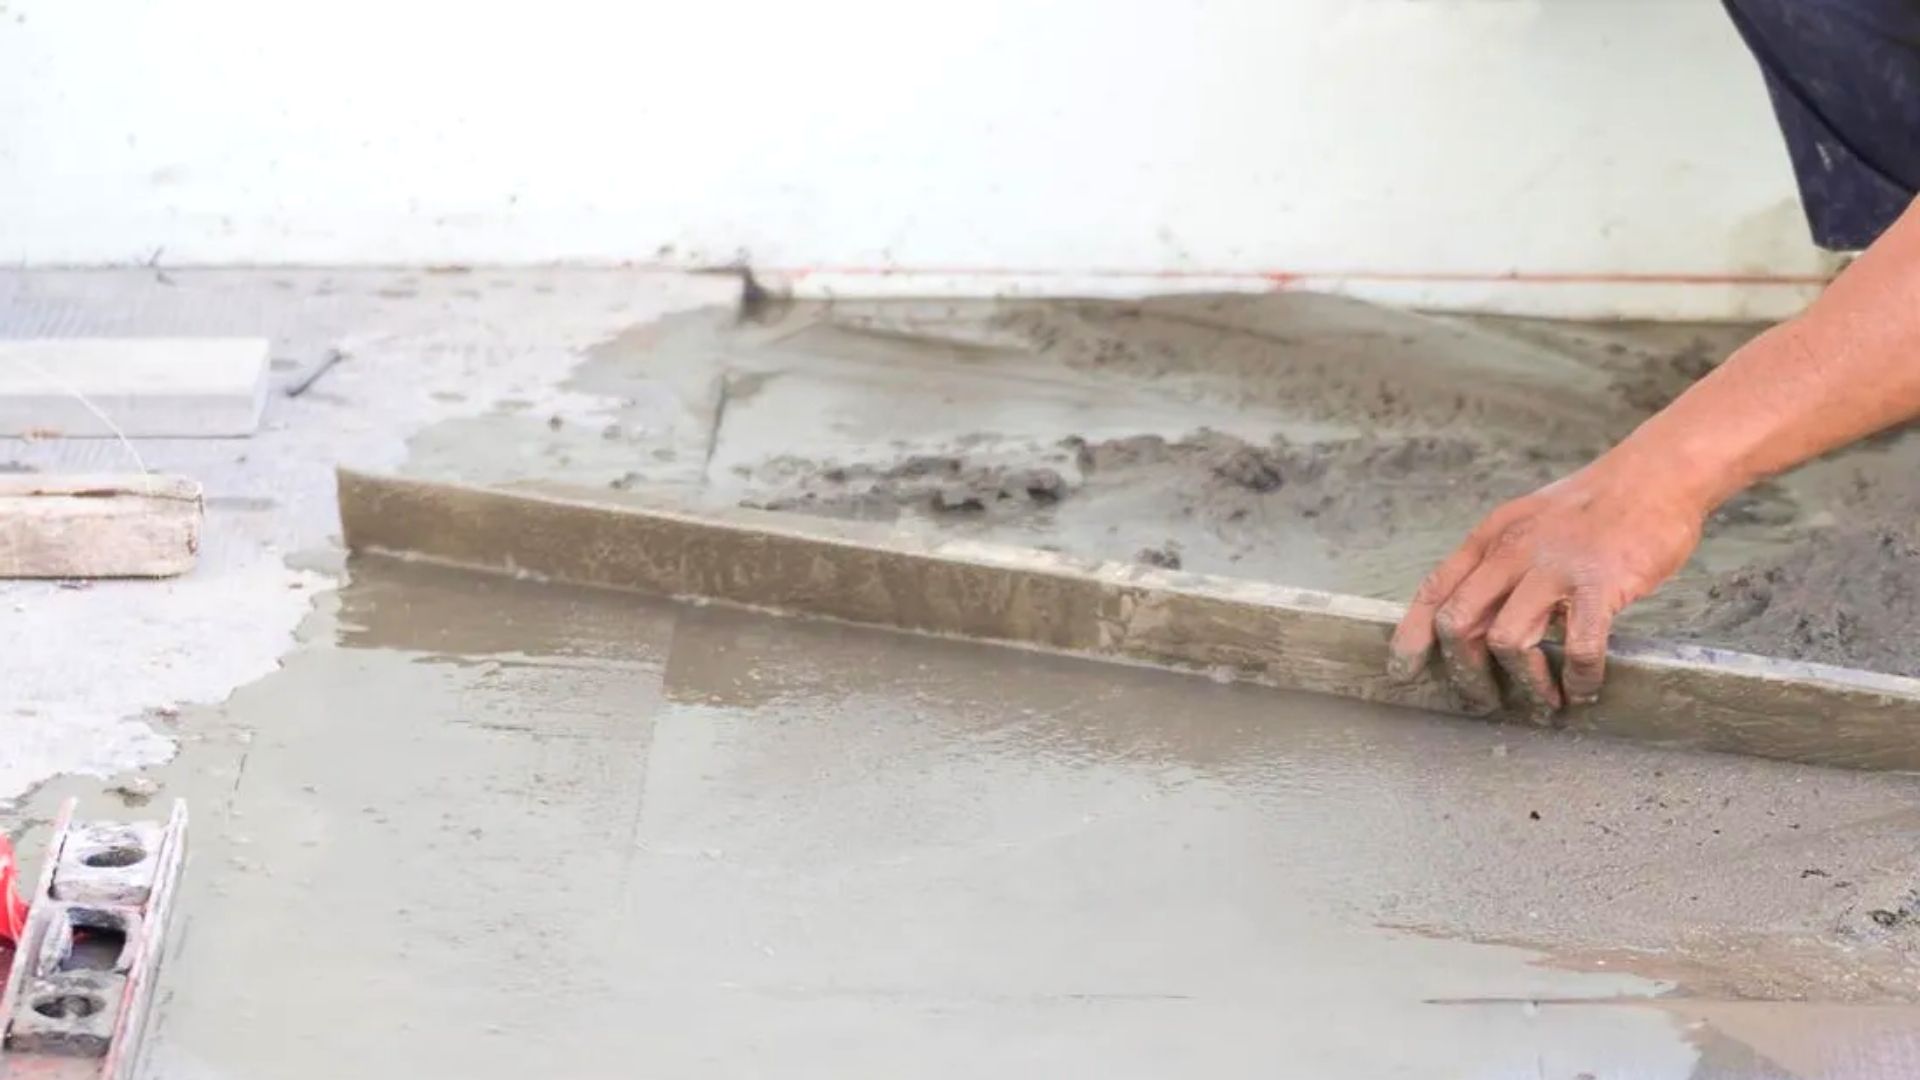
Using an extendable squeegee, spread the resurfacer over the driveway’s surface as if you were scrubbing the driveway with an extendable brush after the resurfacer has been appropriately mixed. Once each strip is a foot wide, evenly spread it across the driveway using the squeegee.
Let the new surface set for about five minutes, and, if required, you can apply a non-slip finish using a finishing broom. Use the broom continuously without pauses, making each sweep in one direction to ensure that the surface has a uniform appearance.
4. Letting The Resurfacer Cure
These steps can help improve the durability and appearance of any driveway. All that remains is to let the resurfacer cure, which will happen more quickly if temperatures are moderate. However, if it gets insanely hot with temperatures over 32 degrees Celsius, you should intermittently mist the driveway for two days.
It will take about 6 hours for the driveway to become usable for pedestrian traffic and vehicles; you will need to wait 24 hours before parking them.
Resurfacing Your Concrete Driveway
Resurfacing a driveway is simpler and more economical than a new installation. Most tools and materials required for the process are available at home, which can help speed up the process. However, pay attention to certain factors, such as the weather, which can affect the curing time of the driveway.
DIY can be difficult sometimes. If you need professional assistance, look no further than Top Coat Concrete. Our Sydney concrete specialists can help you resurface your driveway to ensure it lasts for many years. Our concrete resurfacing services are affordable, professional, and of high quality. Get a free quote today!
With that said, it is time to wrap up. Until next time!
Newsletter
Sign up to our flooring, epoxy and concrete blog newsletter and get all the latest news, tips and tricks from the industries best in Sydney.
Related Articles

Concrete Driveway: Should You Have It Repaired or Replaced?
Confused if you’re going to repair or replace your driveway? Check out this guide and learn the best way to address your driveway problems.

Your DIY Guide to Resealing Concrete Driveway
Are you looking for a DIY guide to help you reseal your driveway? Know the proper way on how to reseal your concrete driveway in this article.

What Is The Best Concrete Sealer For Your Driveway
Looking to pave your driveway with a suitable concrete sealer? Check out this brief guide to know which sealer is the best for you!